Elasticsearch is a text-indexing and search tool, uses HTTP to make the data available in JSON format. Easy to install and configure specially the new versions of it. In this tutorial we are going to deploy Elasticsearch in two servers master and data nodes, and Kibana on another server. Also we will configure and connect them all together through tokens using built in keys and certificates.
Installing and configuring Elasticsearch
- Import GPG Key:
wget -qO - https://artifacts.elastic.co/GPG-KEY-elasticsearch | sudo gpg --dearmor -o /usr/share/keyrings/elasticsearch-keyring.gpg
- Install
apt-transport-httpspackage:
sudo apt-get install apt-transport-https
- Add Elasticsearch 8.x APT repository
echo "deb [signed-by=/usr/share/keyrings/elasticsearch-keyring.gpg] https://artifacts.elastic.co/packages/8.x/apt stable main" | sudo tee /etc/apt/sources.list.d/elastic-8.x.list
- Install Elasticsearch
sudo apt-get update && sudo apt-get install elasticsearch
To install Elasticsearch on different OS consult the install documentation here.
If the Elasticsearch successfully installed in your system, you will see output like this:
Authentication and authorization are enabled.
TLS for the transport and HTTP layers is enabled and configured.

The generated password for the elastic built-in superuser is : =RNxhMKMV_CyJt1jq0T=

If this node should join an existing cluster, you can reconfigure this with
'/usr/share/elasticsearch/bin/elasticsearch-reconfigure-node --enrollment-token <token-here>'
after creating an enrollment token on your existing cluster.

You can complete the following actions at any time:

Reset the password of the elastic built-in superuser with
'/usr/share/elasticsearch/bin/elasticsearch-reset-password -u elastic'.

Generate an enrollment token for Kibana instances with
'/usr/share/elasticsearch/bin/elasticsearch-create-enrollment-token -s kibana'.

Generate an enrollment token for Elasticsearch nodes with
'/usr/share/elasticsearch/bin/elasticsearch-create-enrollment-token -s node'.
To check the installed Elasticsearch version run the following command:
/usr/share/elasticsearch/bin/elasticsearch --version
In the new version 8.X of Elasticsearch starts as cluster and with security enabled by default, and generated all required keys and certificates to authenticate between Elasticsearch nodes. So, we don’t need much configuration for this demo. All what we need is to start Elasticsearch on the master node only and generate token to join data nodes to the cluster.
Elasticsearch bootstrap installation and it will auto generate a password to be used in the cluster. the password can be randomly generated again with this command /usr/share/elasticsearch/bin/elasticsearch-reset-password -u elastic
For now we are going to start and enable Elasticsearch on boot for master node only by the following commands:
sudo systemctl daemon-reload
sudo systemctl enable elasticsearch.service
sudo systemctl start elasticsearch.service
To confirm Elasticsearch started run this command:
sudo systemctl status elasticsearch.service
You should see an active state.
- Configure Elasticsearch Cluster on master node
For this demo we are going to do a basic configuration. If your setup needs more or complex configuration consult Elasticsearch documentation here.
On master node edit the /etc/elasticsearch/elasticsearch.yml file as follow:
sudo vim /etc/elasticsearch/elasticsearch.yml
- Uncomment
Cluster nameon all node and change it according to your organization naming policy. For this demo we are going to call itmy-cluster:
cluster.name: my-cluster
On master node:
node.name: master
- Set the bind address to a specific IP on each node:
network.host: <NODE_PRIVATE_IP>
- Set discovery by specifying all Nodes IP addresses:
discovery.seed_hosts: ["<NODE1_PRIVATE_IP>", "<NODE2_PRIVATE_IP>"]
If you need to set and configure more roles to any node check Elasticsearch documentation here.
If you have an active firewall, open port 9200 and 9300
sudo ufw allow 9200 sudo ufw allow 9300
Restart Elasticsearch service for changes to be active:
sudo systemctl restart elasticsearch.service
Make sure Cluster status is green, which means it’s OK.
Generate Token and join other node
- On master node run the following command to generate an enrollment token for elasticsearch data node:
sudo /usr/share/elasticsearch/bin/elasticsearch-create-enrollment-token -s node
Copy the generated token and procced to data node. And before join the data node make sure Elasticsearch is installed and not started yet. Run the following command on data node:
sudo /usr/share/elasticsearch/bin/elasticsearch-reconfigure-node --enrollment-token <token-here>
When the terminal return back with y/N type y and press enter. Now you have a cluster with master and data nodes. And if you want to join more nodes, generate new token and follow the same steps above.
The auto generate token is valid for 30 minuets only.
- Configure Elasticsearch Cluster on data node
On data node edit the /etc/elasticsearch/elasticsearch.yml file as follow:
sudo vim /etc/elasticsearch/elasticsearch.yml
- Uncomment
Cluster nameon all node and change it according to your organization naming policy. For this demo we are going to call itmy-cluster:
cluster.name: my-cluster
On Data Node:
node.name: data-1
- Set the bind address to a specific IP on each node:
network.host: <NODE_PRIVATE_IP>
- Define the node as data nodes:
node.roles: [ data ]
- Now start and enable
Elasticsearchon boot by the following commands:
sudo systemctl daemon-reload
sudo systemctl enable elasticsearch.service
sudo systemctl start elasticsearch.service
If you want to check the cluster status on master run this command:
sudo curl --cacert /etc/elasticsearch/certs/http_ca.crt -u elastic https://localhost:9200/_cluster/stats?pretty
Elasticsearch will need a password to preform this command, all you need is to copy and paste the auto generated password when we installed Elasticsearch. The output will look similar to this:
...
},
"nodes" : {
  "count" : {
    "total" : 2,
    "coordinating_only" : 0,
    "data" : 2,
    "data_cold" : 1,
    "data_content" : 1,
    "data_frozen" : 1,
    "data_hot" : 1,
    "data_warm" : 1,
    "ingest" : 1,
    "master" : 1,
    "ml" : 1,
    "remote_cluster_client" : 1,
    "transform" : 1,
    "voting_only" : 0
  },
...
Kibana is a dashboard and visualization interface. It is well integrated with Elasticsearch and it has the ability to query any data stored in Elasticsearch.
Install and configure Kibana
Kibana is part of ELK Stack, version 8.X is easy to install and configure. All we need is to install Kibana and generate the token from elasticsearch master node. Then join kibana node to the cluster.
To make Kibana server ready, some prerequisites need to be done:
- Import GPG Key:
wget -qO - https://artifacts.elastic.co/GPG-KEY-elasticsearch | sudo gpg --dearmor -o /usr/share/keyrings/elasticsearch-keyring.gpg
- Install
apt-transport-httpspackage:
sudo apt-get install apt-transport-https
- Add Elasticsearch 8.x APT repository
echo "deb [signed-by=/usr/share/keyrings/elasticsearch-keyring.gpg] https://artifacts.elastic.co/packages/8.x/apt stable main" | sudo tee /etc/apt/sources.list.d/elastic-8.x.list
Now we can procced and install Kibana:
- Install Kibana
sudo apt-get update && sudo apt-get install kibana
To install Kibana on different OS consult the install documentation here.
If the Kibana successfully installed in your system, start and enable it on boot by the following commands:
sudo systemctl daemon-reload
sudo systemctl enable kibana.service
sudo systemctl start kibana.service
- Generate Token:
On master node run the following command to generate an enrollment token for kibana node:
sudo /usr/share/elasticsearch/bin/elasticsearch-create-enrollment-token -s kibana
- Add enrollment Token:
From OpenStack interface procced to Project > Network > Security Group click on Add Rule open port 5601 and change the CIDR to make it accessible by your machine public IP only. Now open kibana’s interface by copying kibana Floating IP and paste it to the browser with the port you open http://95.177.178.193:5601.
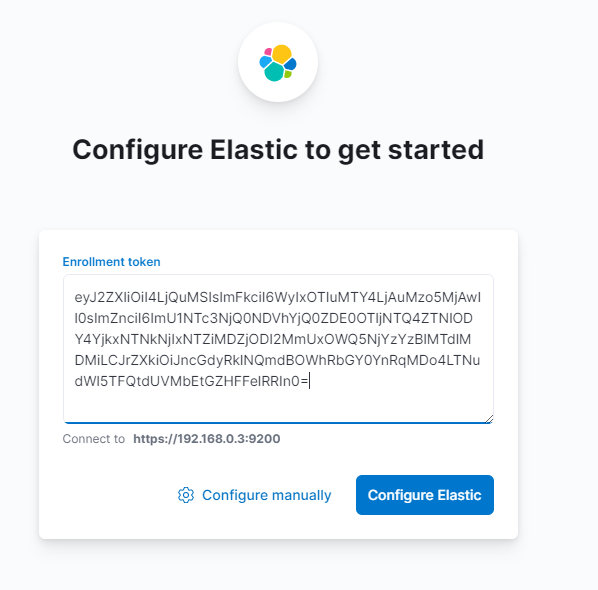
Copy the generated token from elasticsearch master node and paste it into kibana’s interface and click Confairm Elastic:
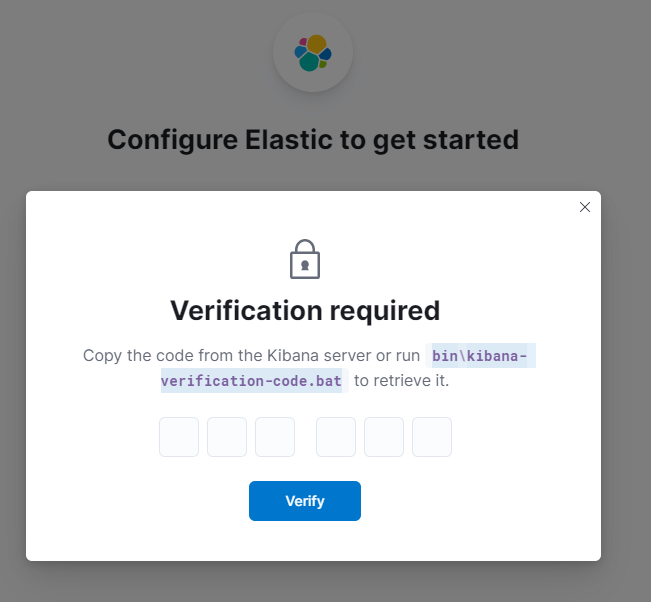
Now you have to verify joining kibana to elasticsearch cluster.
On Kibana node change directory to /usr/share/kibana/ and run the following command to generate a verification code:
sudo .bin/kibana-verification-code.bat --allow-root -c /etc/kibana/kibana.yml
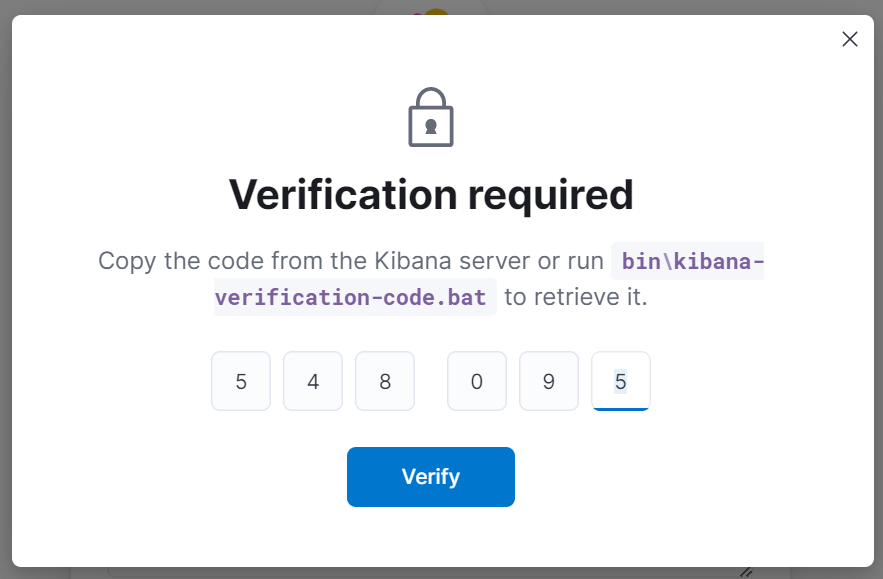
Now type the code into kibana’s interface and click verify.
Restart Kibana now and you are good to go.
sudo systemctl restart kibana.service
You can now navigate to your browser again and access Kibana. It uses the same username and password elasticsearch used:
- username: elastic
- password: <Your_Elasteicsearch_pass>
You can edit kibana from its main configuration file /etc/kibana/kibana.yml to add more sittings. For more information check out kibana’s documentation here.


