LAMP
A “LAMP” stack is a group of open source software that is typically installed together to enable a server to host dynamic websites and web apps. This term is actually an acronym which represents the Linux operating system, with the Apache web server. The site data is stored in a MySQL database, and dynamic content is processed by PHP.
In this guide, we’ll get a LAMP stack installed on an Ubuntu 16.04 virtual machine . Ubuntu will fulfill our first requirement: a Linux operating system.
Prerequisites:
- Create a Virtual service using this Tutorial.
- Secure the Server
Install Apache
The Apache web server is among the most popular web servers in the world. It’s well-documented, and has been in wide use for much of the history of the web, which makes it a great default choice for hosting a website.
We can install Apache easily using Ubuntu’s package manager, apt. A package manager allows us to install most software pain-free from a repository maintained by Ubuntu.
sudo apt-get install apache2
Since we are using a sudo command, these operations get executed with root privileges. Since you are logged in using your Keypair, it will not ask for any passwords. The current user ubuntu have root privileges.
Change the ServerName
- Open the file
/etc/apache2/apache2.confand search forServerName. Change that to the desired Name. - Save and Exit
- Restart the Apcahe
sudo systemctl restart apache2
- Check the Server using your favourite browser:
Make Sure that, you have Created a Security Group and Added Proper rules to Access your Server from Internet. If you don’t know how to do that, watch this Video Tutorial in Arabic and English.
http://your_server_Floating-IP_address
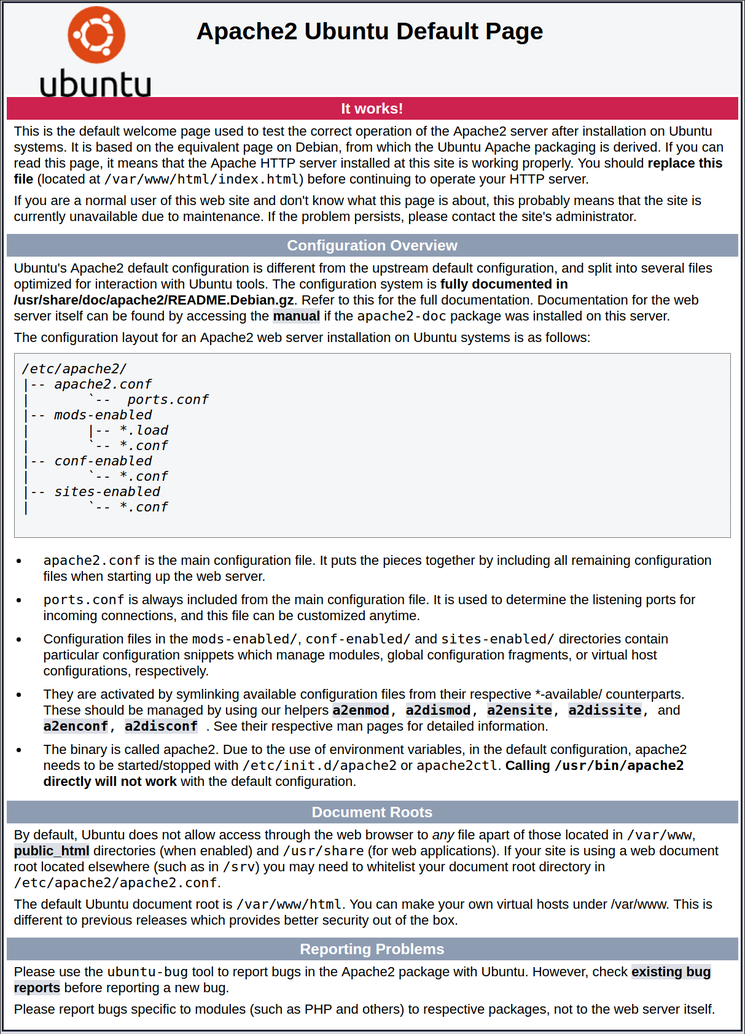
You should See a page like this:
Install MySQL
Now that we have our web server up and running, it is time to install MySQL. MySQL is a database management system. Basically, it will organize and provide access to databases where our site can store information.
Again, we can use apt to acquire and install our software. This time, we’ll also install some other “helper” packages that will assist us in getting our components to communicate with each other.
sudo apt-get install mysql-server
Again, you will be shown a list of the packages that will be installed, along with the amount of disk space they’ll take up. Enter Y to continue.
During the installation, your server will ask you to select and confirm a password for the MySQL “root” user. This is an administrative account in MySQL that has increased privileges. Think of it as being similar to the root account for the server itself (the one you are configuring now is a MySQL-specific account, however). Make sure this is a strong, unique password, and do not leave it blank.
When the installation is complete, we want to run a simple security script that will remove some dangerous defaults and lock down access to our database system a little bit. Start the interactive script by running:
mysql_secure_installation
Above command will ask for series of Questions. Answer it accordingly
Install PHP
PHP is the component of our setup that will process code to display dynamic content. It can run scripts, connect to our MySQL databases to get information, and hand the processed content over to our web server to display.
We can once again leverage the apt system to install our components. We’re going to include some helper packages as well, so that PHP code can run under the Apache server and talk to our MySQL database:
sudo apt-get install php libapache2-mod-php php-mcrypt php-mysql
This should install PHP without any problems. We’ll test this in a moment.
In most cases, we’ll want to modify the way that Apache serves files when a directory is requested. Currently, if a user requests a directory from the server, Apache will first look for a file called index.html. We want to tell our web server to prefer PHP files, so we’ll make Apache look for an index.php file first.
To do this, type this command to open the dir.conf file in a text editor with root privileges:
sudo vim /etc/apache2/mods-enabled/dir.conf
It will look like this:
<IfModule mod_dir.c>
    DirectoryIndex index.html index.cgi index.pl index.php index.xhtml index.htm
</IfModule>
We want to move the PHP index file highlighted above to the first position after the DirectoryIndex specification, like this:
<IfModule mod_dir.c>
    DirectoryIndex index.php index.html index.cgi index.pl index.xhtml index.htm
</IfModule>
After you finish. Restart the Apache:
sudo systemctl restart apache2
We can also check on the status of the apache2 service using systemctl:
sudo systemctl status apache2
It will be like this, process-id may change in your case
apache2.service - LSB: Apache2 web server
   Loaded: loaded (/etc/init.d/apache2; bad; vendor preset: enabled)
  Drop-In: /lib/systemd/system/apache2.service.d
           └─apache2-systemd.conf
   Active: active (running) since Wed 2016-04-13 14:28:43 EDT; 45s ago
     Docs: man:systemd-sysv-generator(8)
  Process: 13581 ExecStop=/etc/init.d/apache2 stop (code=exited, status=0/SUCCESS)
  Process: 13605 ExecStart=/etc/init.d/apache2 start (code=exited, status=0/SUCCESS)
    Tasks: 6 (limit: 512)
   CGroup: /system.slice/apache2.service
           ├─13623 /usr/sbin/apache2 -k start
           ├─13626 /usr/sbin/apache2 -k start
           ├─13627 /usr/sbin/apache2 -k start
           ├─13628 /usr/sbin/apache2 -k start
           ├─13629 /usr/sbin/apache2 -k start
           └─13630 /usr/sbin/apache2 -k start

Apr 13 14:28:42 ubuntu-16-lamp systemd[1]: Stopped LSB: Apache2 web server.
Apr 13 14:28:42 ubuntu-16-lamp systemd[1]: Starting LSB: Apache2 web server...
Apr 13 14:28:42 ubuntu-16-lamp apache2[13605]:  * Starting Apache httpd web server apache2
Apr 13 14:28:42 ubuntu-16-lamp apache2[13605]: AH00558: apache2: Could not reliably determine the server's fully qualified domain name, using 127.0.1.1. Set the 'ServerNam
Apr 13 14:28:43 ubuntu-16-lamp apache2[13605]:  *
Install PHP Modules
apt-cache search php- | less
Use the arrow keys to scroll up and down, and q to quit.
The results are all optional components that you can install. It will give you a short description for each:
libnet-libidn-perl - Perl bindings for GNU Libidn
php-all-dev - package depending on all supported PHP development packages
php-cgi - server-side, HTML-embedded scripting language (CGI binary) (default)
php-cli - command-line interpreter for the PHP scripting language (default)
php-common - Common files for PHP packages
php-curl - CURL module for PHP [default]
php-dev - Files for PHP module development (default)
php-gd - GD module for PHP [default]
php-gmp - GMP module for PHP [default]
To get more information about what each module does, you can either search the internet, or you can look at the long description of the package by typing:
apt-cache show package_name
Test PHP Processing on your Web Server
In order to test that our system is configured properly for PHP, we can create a very basic PHP script.
We will call this script info.php. In order for Apache to find the file and serve it correctly, it must be saved to a very specific directory, which is called the “web root”.
In Ubuntu this directory is located at /var/www/html/. We can create the file at that location by typing:
sudo vim /var/www/html/info.php
It will Open a blank file, insert the Below content:
<?php
phpinfo();
?>
Save and Exit. After that Browse the Page:
http://floating-ip-address-of-intance/info.php
You should see a page like below
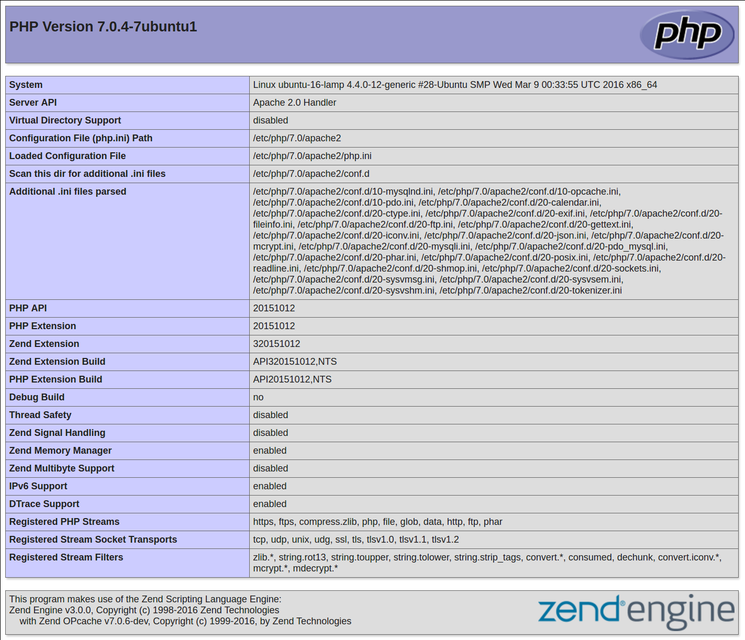
This page basically gives you information about your server from the perspective of PHP. It is useful for debugging and to ensure that your settings are being applied correctly.
Congratulations. You have setup your LAMP server in Bluvalt