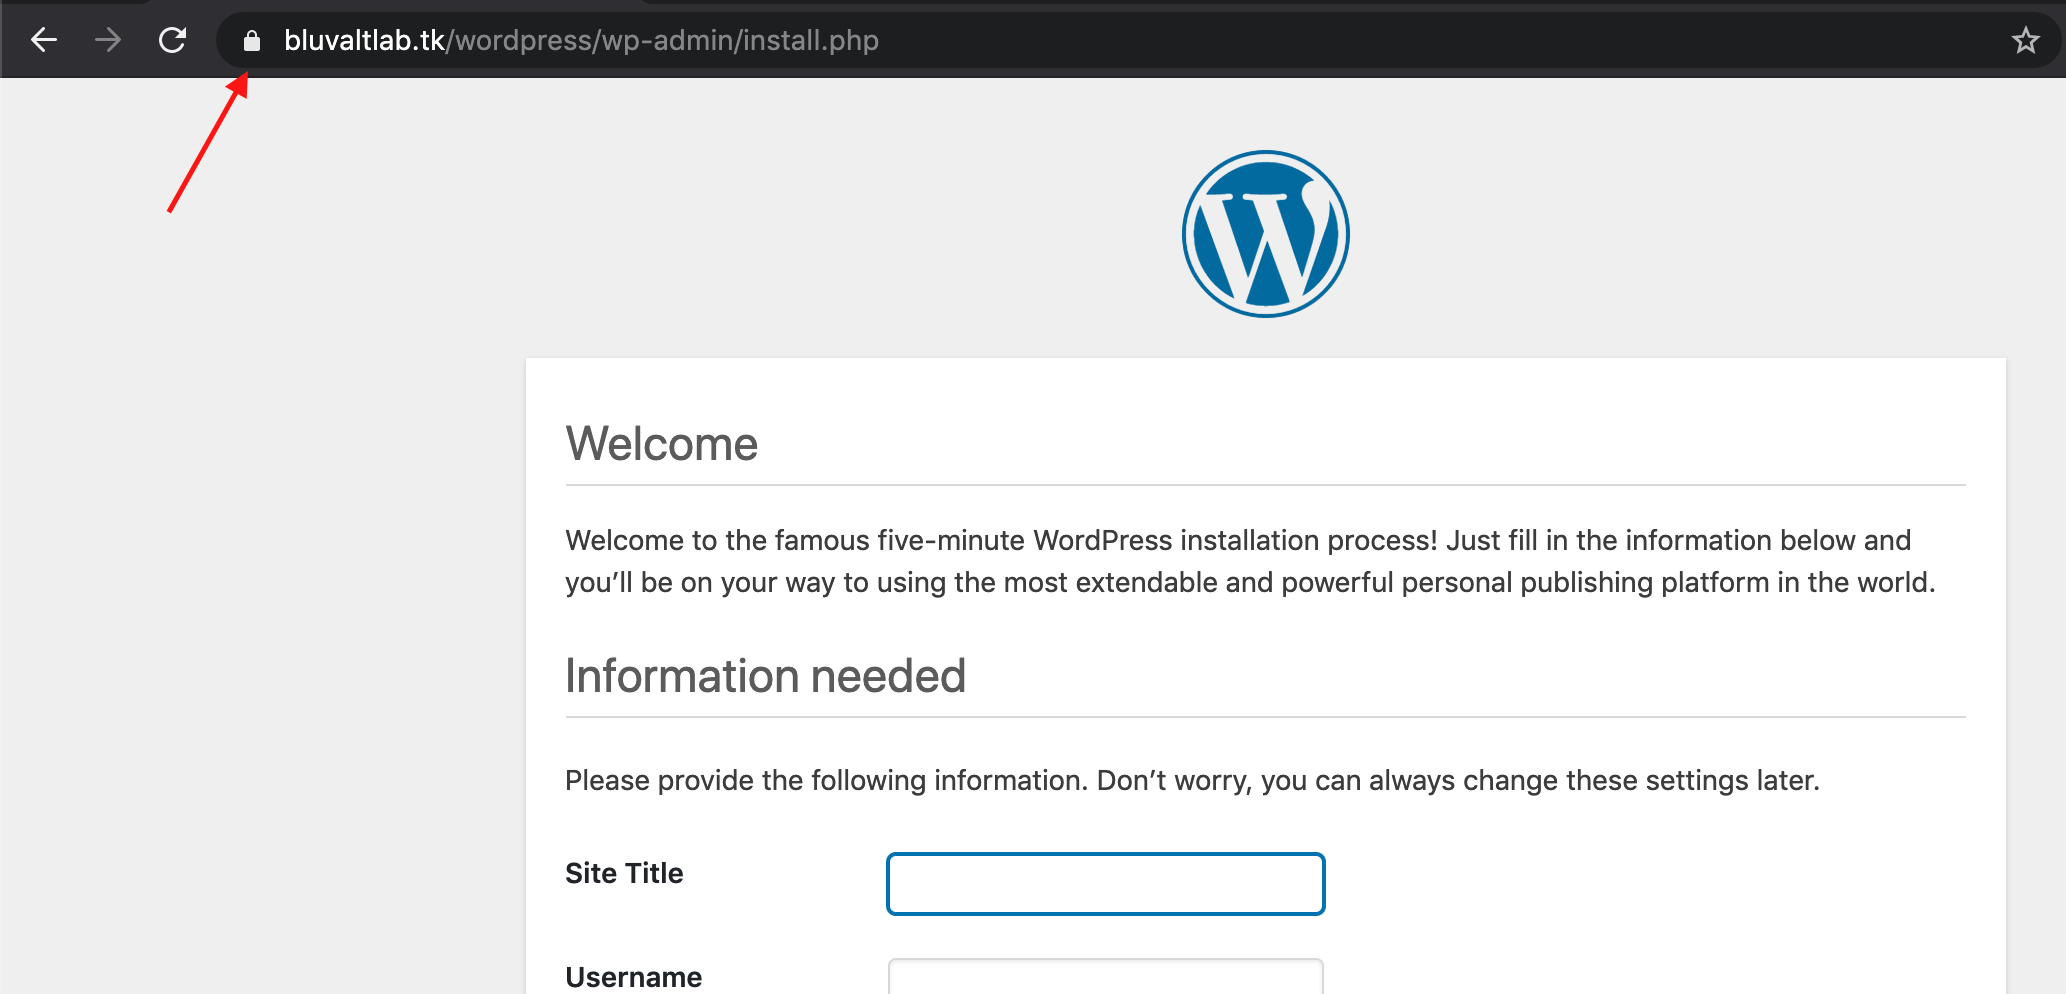
In this lab you will create your own DNS, install WordPress, and obtain SSL Certificates in Bluvalt Cloud.
You can follow the video tutorial - click Here.
When the reader has completed this lab, they will understand how to:
- Create custom DNS (Domain Name System)
- Install Ready-Made WordPress Deployment
- Obtain SSL Certificate using Certbot and Configure WordPress Instance
Prerequisites
- Bluvalt Cloud Account
- vDC Instance - click here to make the vDC environment ready to be used in this lab
Step 1: Create custom DNS
In this step you will use Freenom to get free domain.
First you will pick a DNS from Here - for this lab I will choose .tk
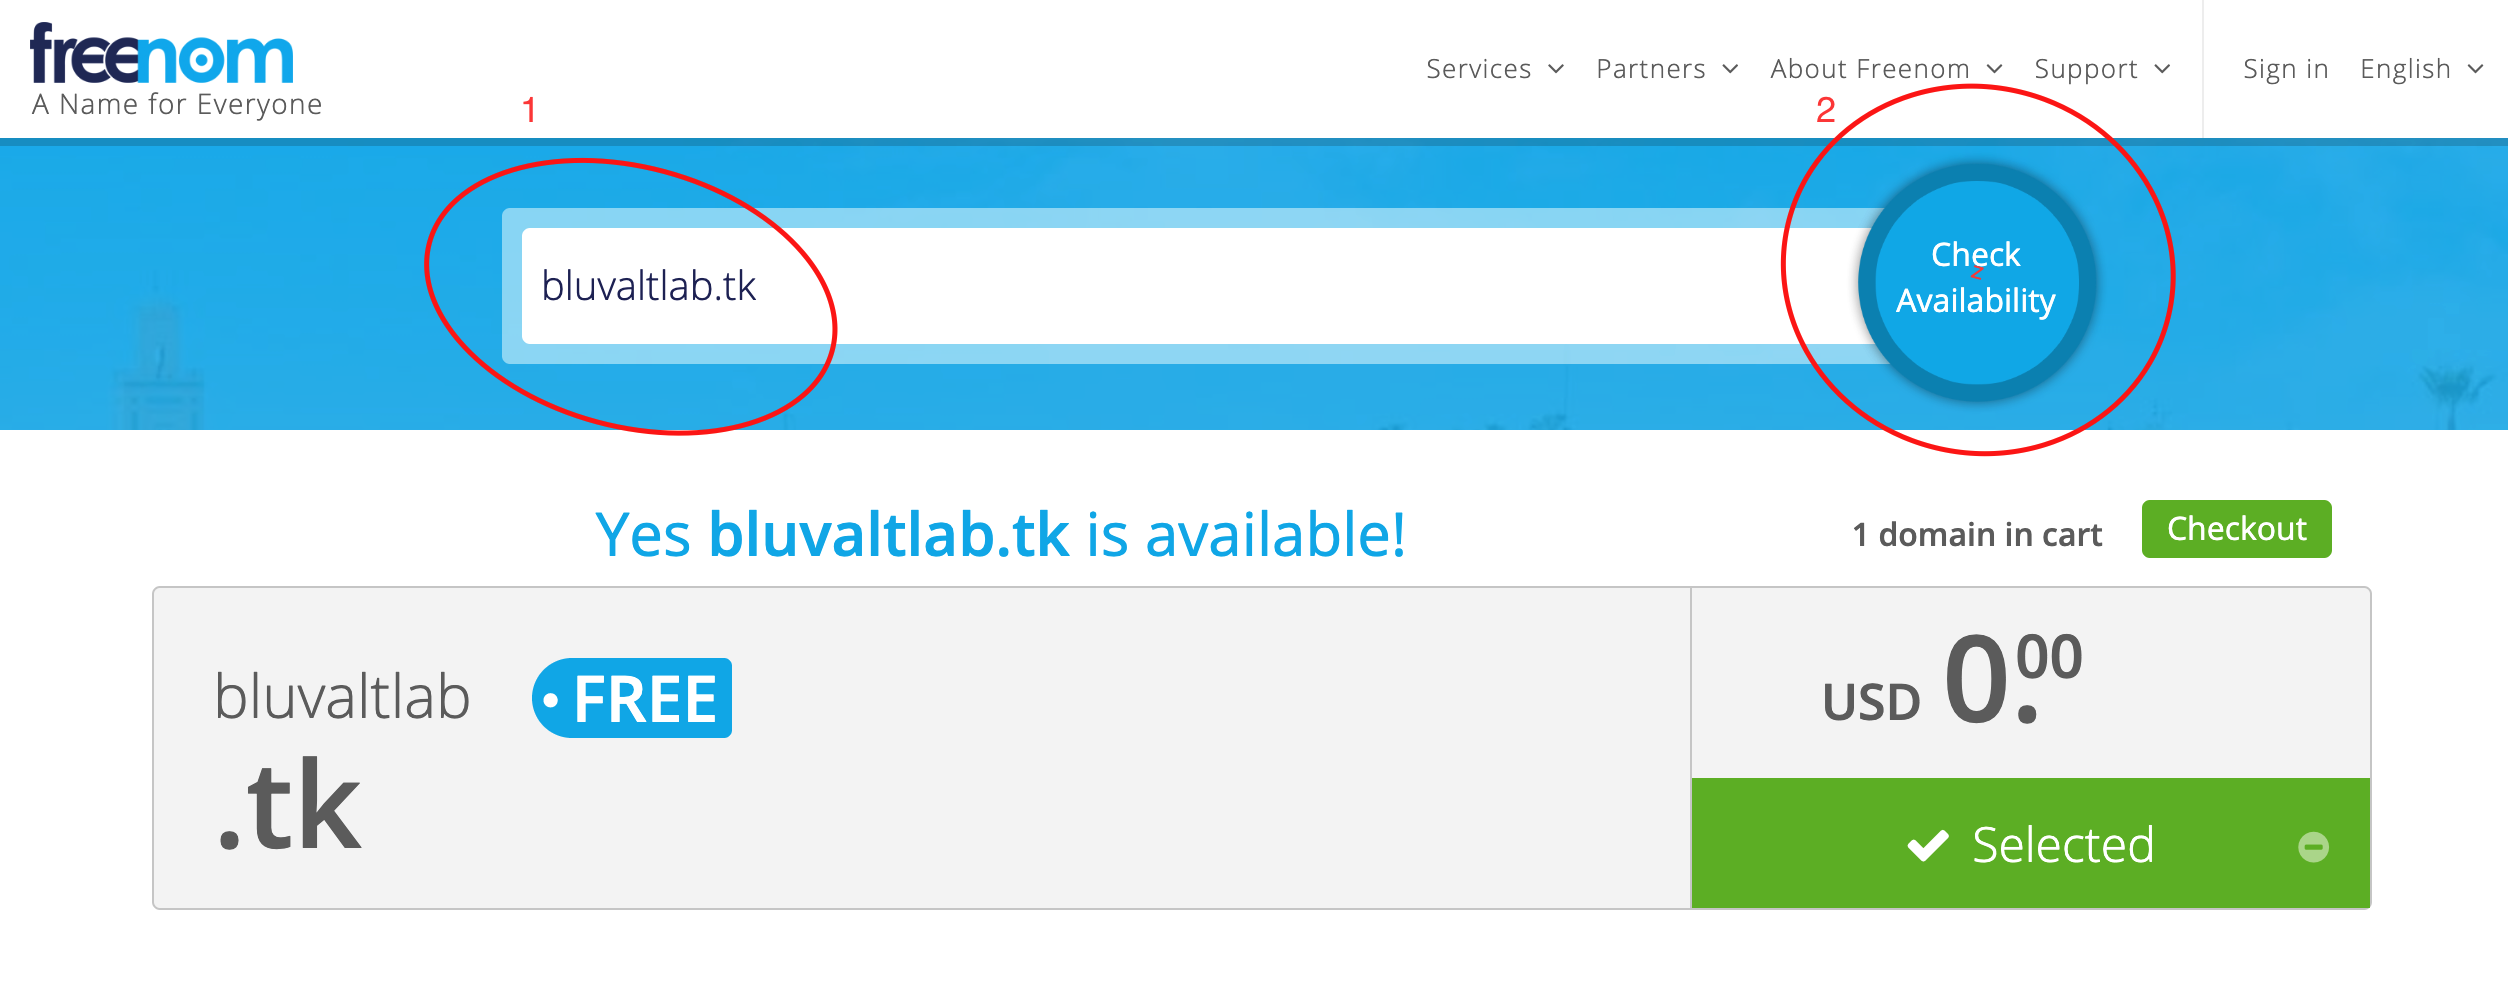
You must type .tk before you click check availability. [DNS name].tk
Then after you select the DNS click checkout.

Then choose the Period as you like then click continue.
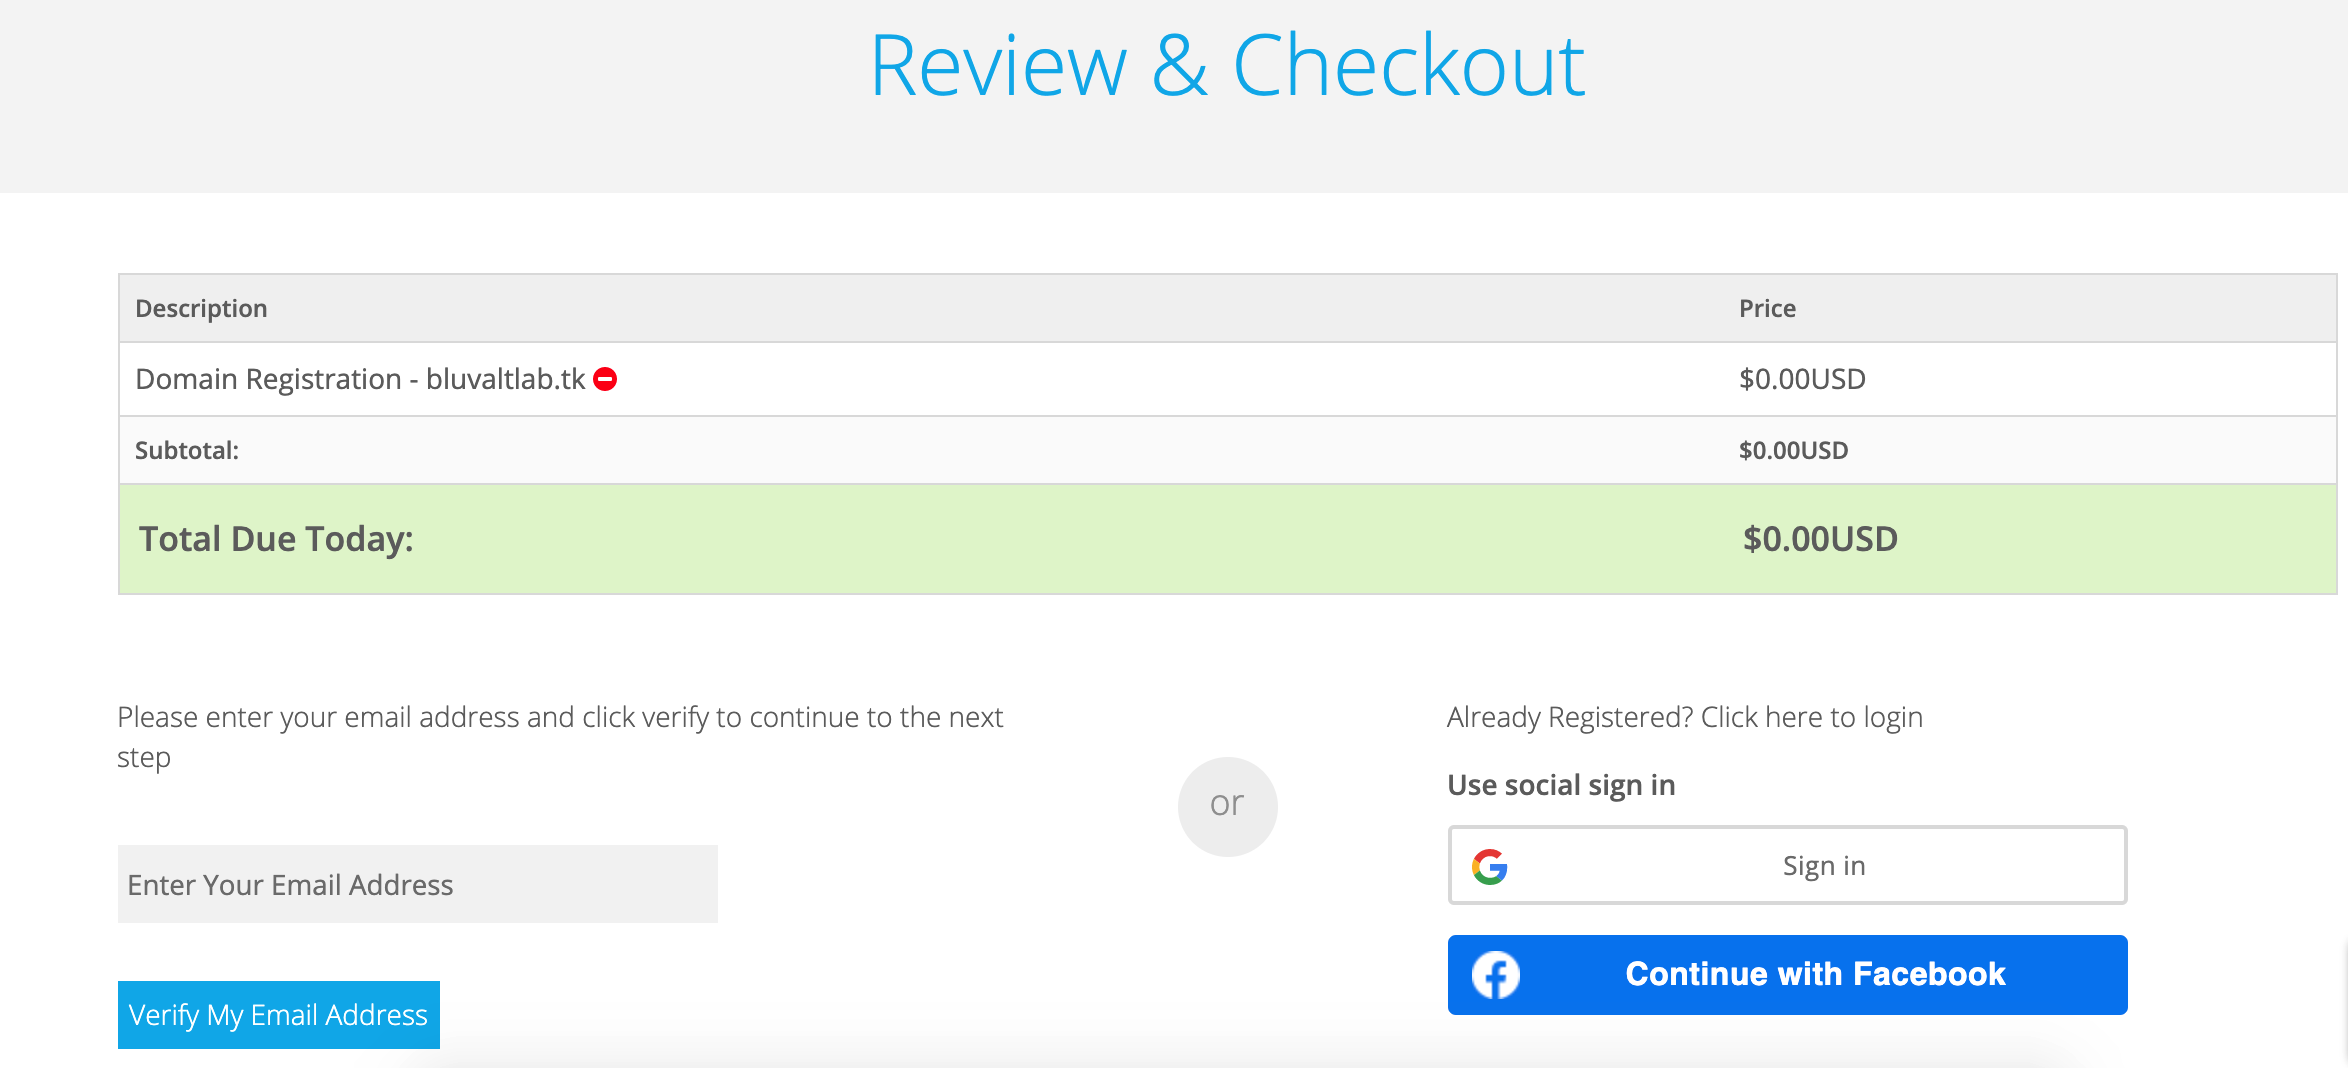
Register at Freenom and confirm your registration.
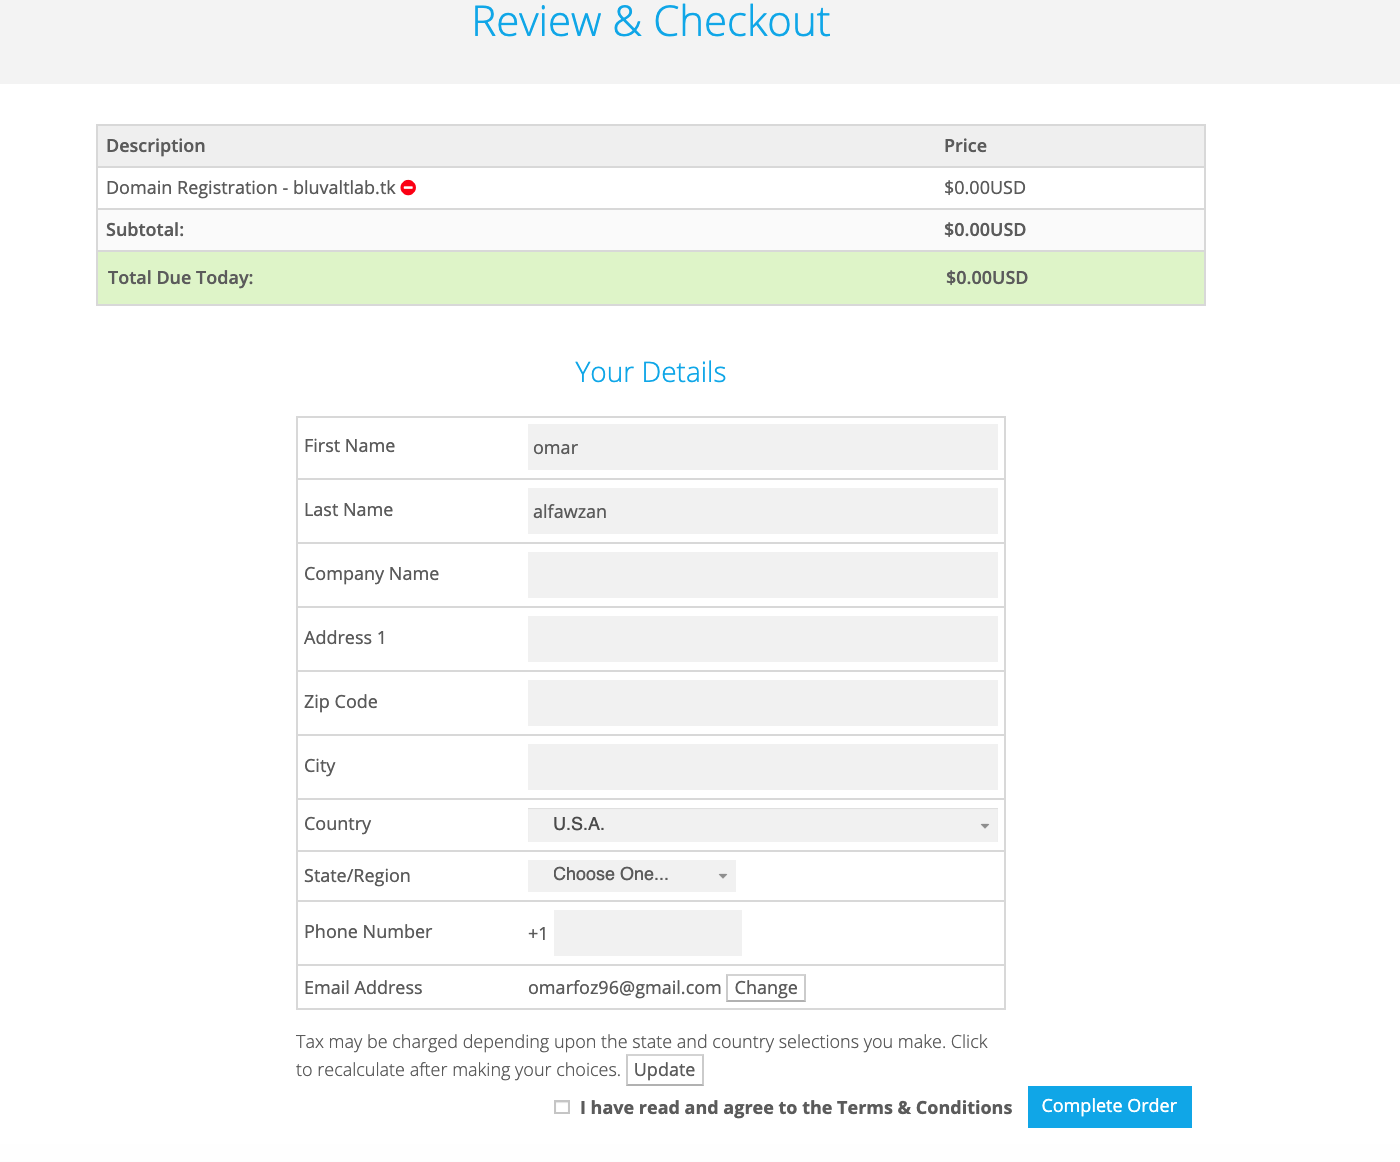
After the confirmation fill your details then click complete order.
Maybe after you click complete order you will get an Error "Not Found" don’t worry, if you try back to main page to freenom and login you will see your DNS.
Step 2: Install WordPress
In Step 2, you will be performing the following:
- Install the WordPress on the vDC.
- Get back to Freenome website to Link the Public IP, that you will get it from the vDC.
- Link it with the DNS.
First open vDC then click Launch Instance and fill all require information. Remember to Select Image = WordPress-5.7-Ubuntu18, click here and see all steps you need to make the vDC ready.
Below all the information you need to launch WordPress Instance:
- Instance Name =
[name] - Availability Zone =
zone-1 - Count =
1 - Boot Source =
Image - Volume Size =
60 or any size - Select Image =
WordPress-5.7-Ubuntu18 - Flavors =
R1-Generic-4 - Networks =
[name] - Security groups =
[name] - Key Pairs =
[name]
Then assign the Floating IP or Public IP to the WordPress Instance - in my case my Public IP is 95.177.166.39
Next open freenome and login to your account.
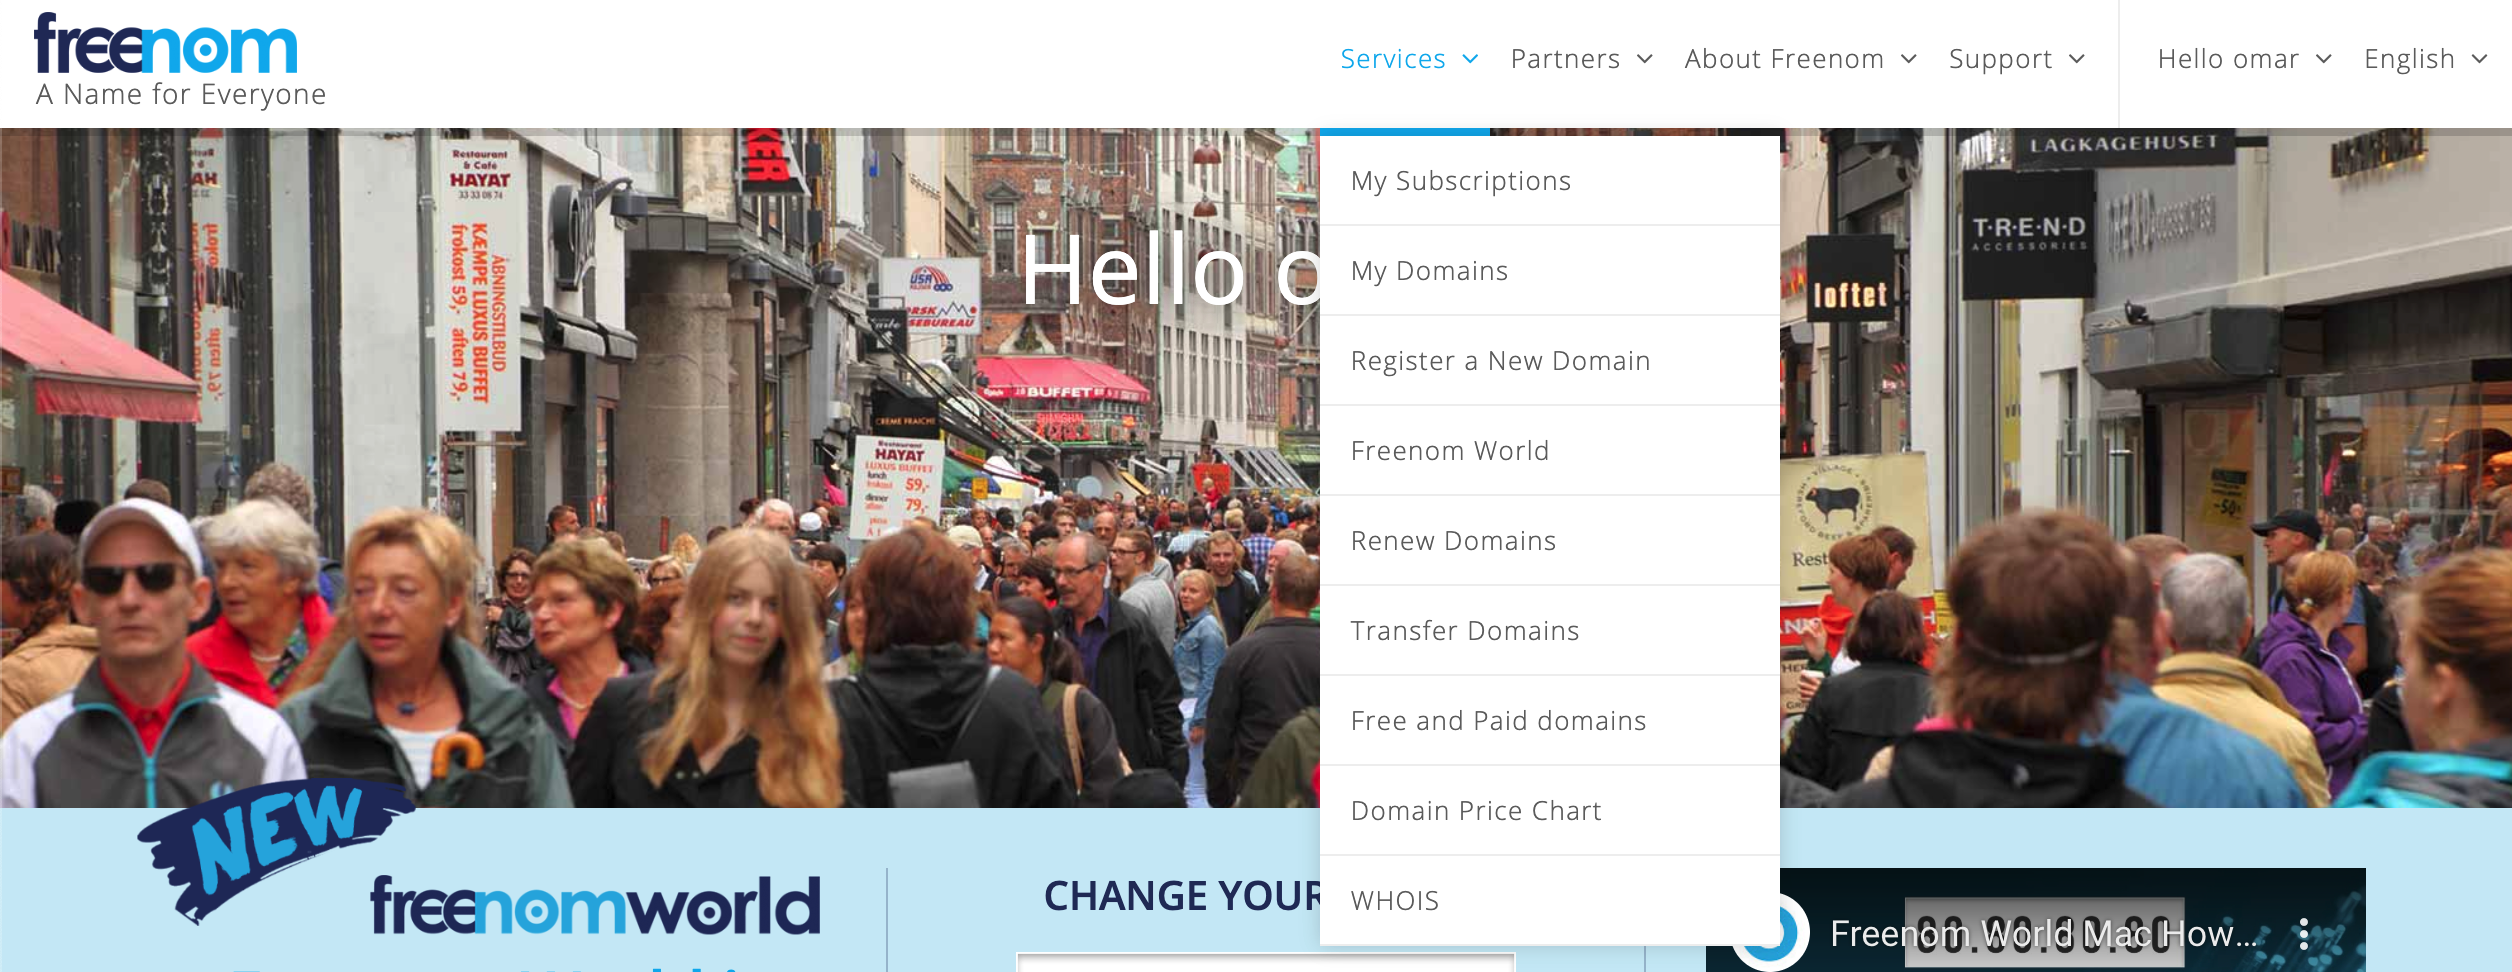
Then Click Services -> My Domains
Click Manage domain then click Manage Freenom DNS
Then add the Public IP like the Image

Then click Save Changes
It takes a while to the DNS to be ready.
No you can access to WordPress Using our custom domain. like bluvaltlab.tk
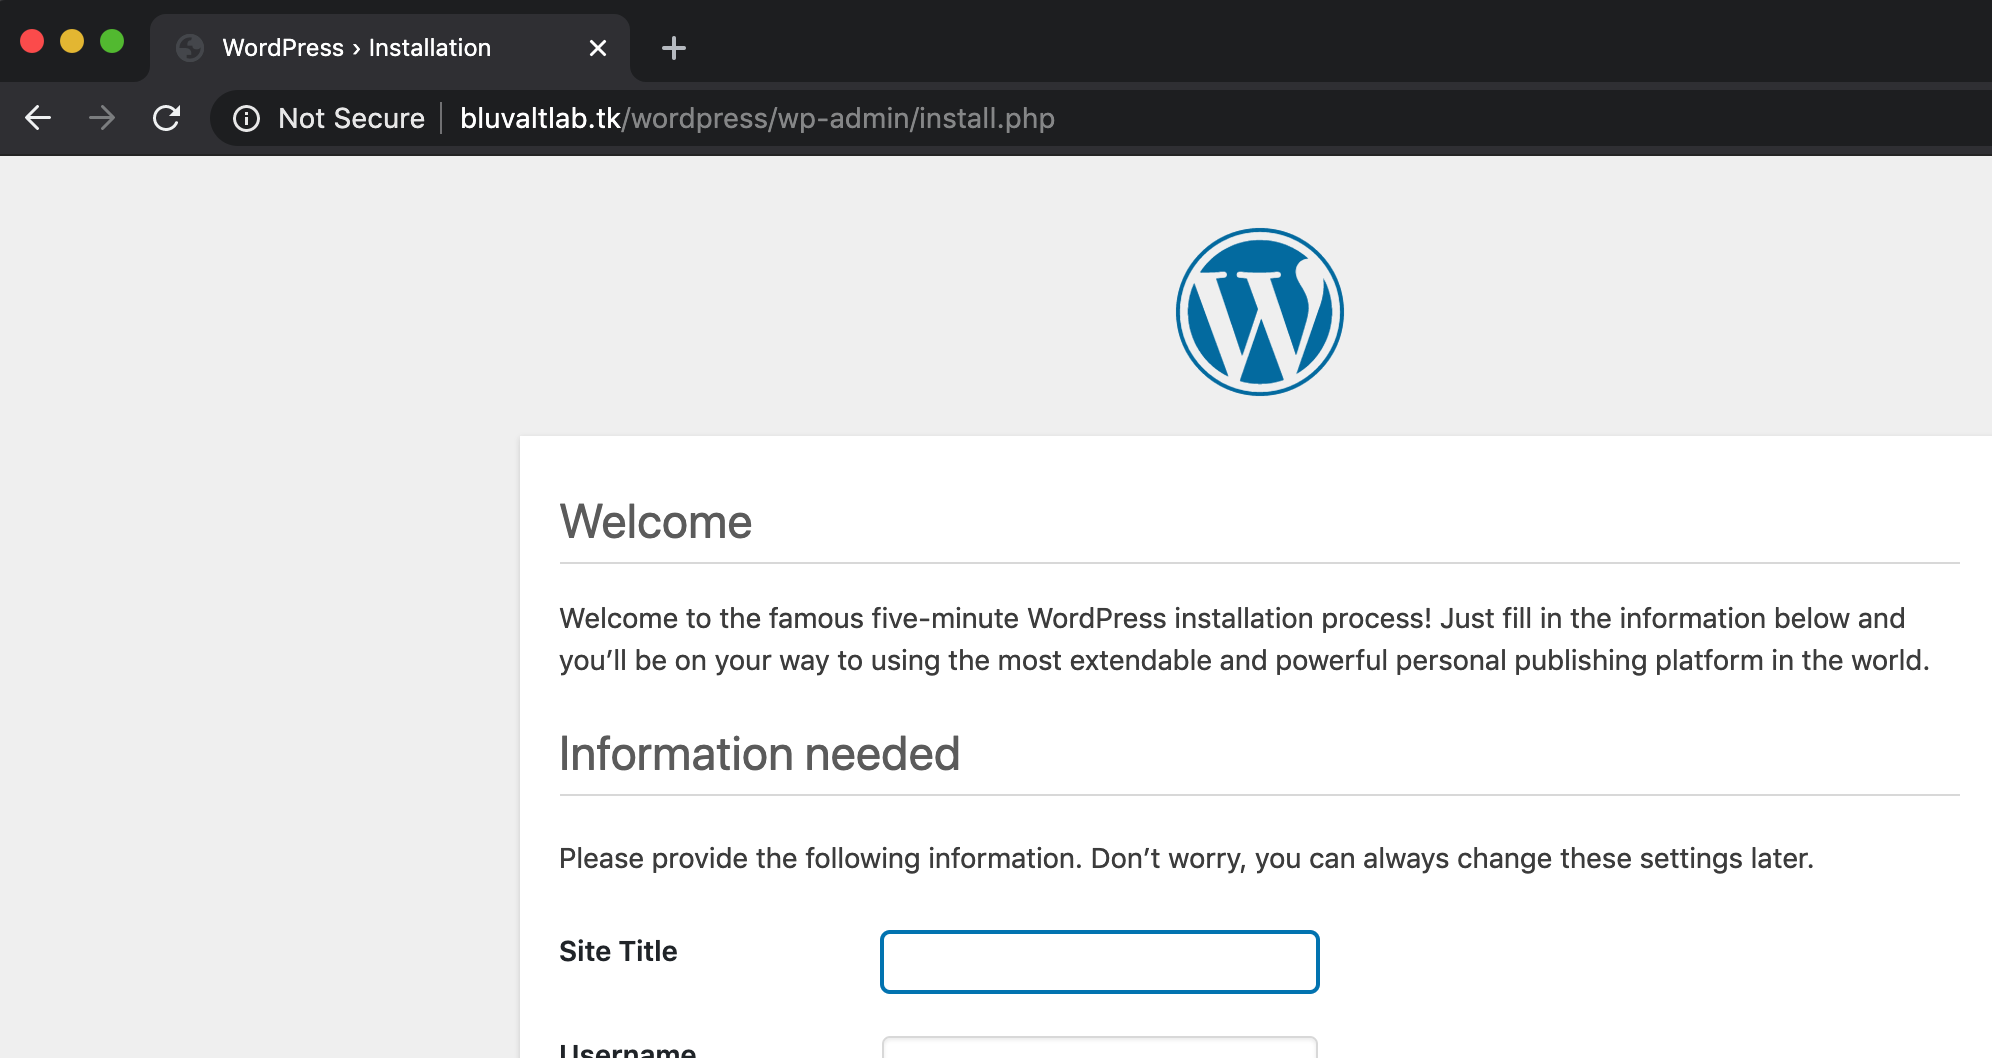
Next step you will configure, WordPress running instance (VM) to obtain the SSL Certificate.
Step 2: Obtain SSL Certificate
You will obtain the SSL Certificate form Let's Encrypt, Let’s Encrypt is a non-profit certificate authority run by Internet Security Research Group that provides X.509 certificates for Transport Layer Security encryption at no charge. You will use Certbot to automatically obtain the SSL Certificate.

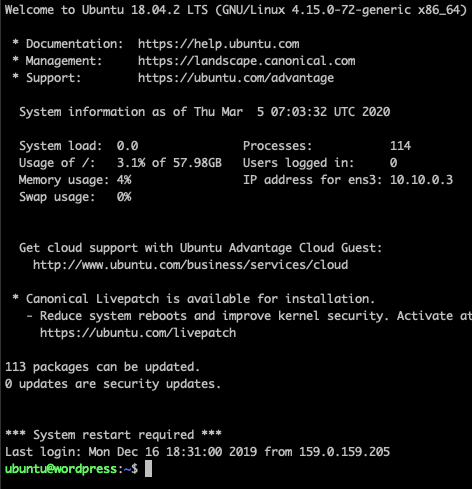
First connect to the running WordPress instance (VM) using SSH.
Open the Terminal and Enter:
ssh -i [path of key pair ]/keypair.pem ubuntu@[floatingip]
Example: ssh -i /Users/Omar/Downloads/keypair.pem ubuntu@95.177.166.39
Next, add the repository:
sudo add-apt-repository ppa:certbot/certbot
Then Press Enter
Next, Install Certbot - for Apache:
sudo apt install python-certbot-apache
For more installation methods follow Certboot documentation.
Next, Set Up the SSL Certificate:
First Copy the 000-default.conf in etc/apache2/sites-available/ and rename it to your domain.
sudo cp /etc/apache2/sites-available/000-default.conf /etc/apache2/sites-available/[YOUR DOMAIN].conf
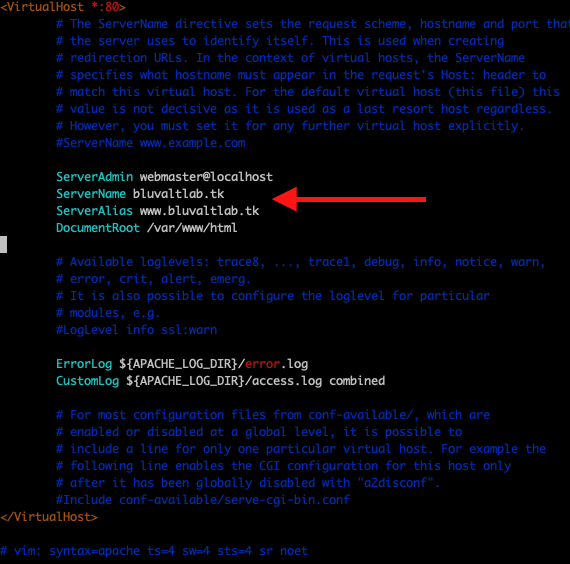
Next, edit the configuration file in /etc/apache2/sites-available/:
sudo vim /etc/apache2/sites-available/[YOUR DOMAIN].conf
Copy the following and change it to match your setup:
ServerName [YOUR DOMAIN]
ServerAlias www.[YOUR DOMAIN]
Verify the syntax of your edits:
sudo apache2ctl configtest
You should see Syntax OK.
Next, reload Apacche2:
sudo systemctl reload apache2
Next, Obtaining an SSL Certificate:
sudo certbot --apache -d [YOUR DOMAIN] -d [YOUR DOMAIN]
- Enter your email
- Agree terms of service -
press y - Share your email address -
y or n - Verify your email -
check your email address you will get verification link - Which virtual host would you like to choose? -
choose 2 - Choose whether or not to redirect HTTP traffic to HTTPS: -
select the choice you want- 1: No redirect means if you enter http://bluvaltlab.tk/ without https you will enter the not secure.
- 2: Redirect - Make all requests redirect to secure HTTPS access
